
Saturday, July 7, 2012
BIG Noah's Ark


Monday, July 2, 2012
Shop Transformation!
The transformation of my wood shop to a 3/4 quilting work shop is on hold for a while. The main focus of the "new" area was to be my daughters long arm quilting machine. The problem is that the machine is in southern California, and I'm in central Ohio. Had planned on driving out for a visit this summer, but was reminded that I will want to go to California next spring for my Granddaughters graduation. So, will wait till next spring.....
On the good side, I can put off cleaning the shop for a while longer....
On the good side, I can put off cleaning the shop for a while longer....
Monday, June 4, 2012
Table Saws and Quilting!
I'll be posting up a whole bunch about my latest adventure. This adventure involves transforming my wood shop into a quilting shop. Not a quilting store, but a place for cutting, piecing, assembling, and quilting the quilt(s). I'll be keeping the table saw and a scroll saw for Noah's Arks. Plus I'll keep the carving area in one corner.
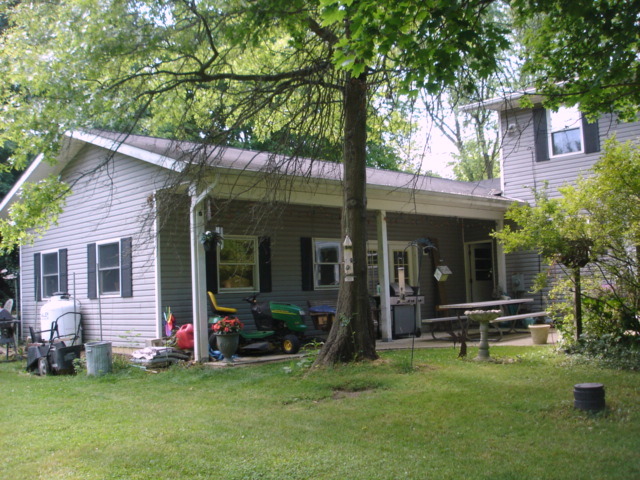
 My wood shop is attached to the back of the garage, which is attached to the house. It's large with lots of windows and french doors opening on to a patio. I have used the shop to design, build, and finish large cabinets. By large, I mean 8 feet tall, by 4 feet wide. These I would sell to folks for placement in their two story great rooms. However, of late, the weight of these pieces as well as my advancing age has conspired against me. That's code for I'm not as strong as I used to be. That's one reason for transforming the wood shop to a quilting shop. The other reason is that my daughter has a long arm quilting machine that she is giving me.
Thursday, May 17, 2012
Quilt Class Raffle Quilt

The quilt class that I co-teach makes several group quilts each class cycle. These group quilts are raffled off to benefit the Senior Center. This is my classes latest raffle quilt. It's a king size.
Wednesday, May 16, 2012
New "Machine"


This gem is complete. Even has a bobbin case and drive belt. An original manual was in one of the drawers, but is pretty torn up. Before I refinish the cabinet I'll clean the machine and try to do some stitching. It's a NEW HOME. Don't know how old, but I'd say it's older than I am anyway. I am planning on using the machine to quilt smaller quilt tops.
Monday, May 7, 2012
Power Carving With Kids

Here's my answer. This is power carving with a low rpm hand held drum sander. A good leather glove on the hand holding the wood and a 3/8 inch sanding drum chucked up and we're off to the races.
 The first project was the cow. The Cheetah's were the second. I provided the blank, and carved right along with my "student". I'd make a "cut" in my piece, and she would make the same cut in her piece.
All in all, a very successful session.
Wednesday, March 28, 2012
Little Civil War Dude!
Here's a fun little project. Starts out with a pattern. Next the pattern is traced onto a 3/4 x 3 inch piece of Basswood, and the blank cut out. Then it's roughed in with a pocket knife. Finally the detail is done and the finish applied.


Subscribe to:
Posts (Atom)
